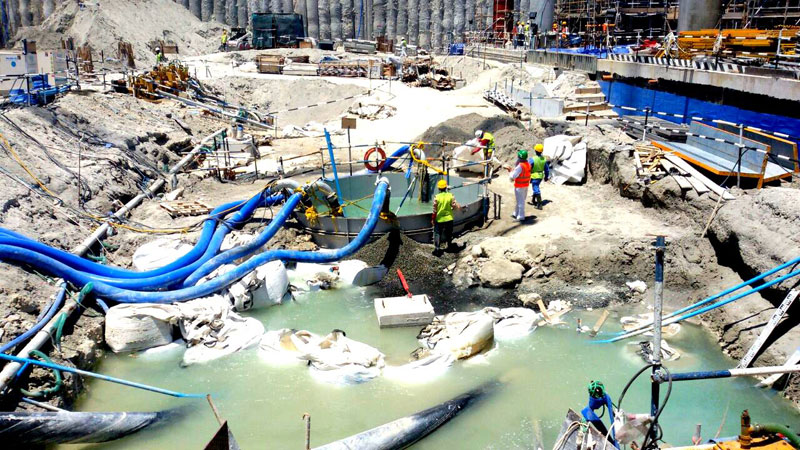
It happens faster than you expect. A groundwater strike during excavation, a ruptured water main nearby, an overnight rainstorm that overwhelms your site drainage — and suddenly you're standing at the edge of a flooded excavation with a crew waiting, a programme to protect, and decisions to make quickly.
This step-by-step guide is designed for site engineers and project managers facing exactly that situation. Calm, methodical action in the first few hours makes the difference between a manageable delay and a serious setback.
Step 1: Stop and Assess — Don't Rush In
The instinct is to act immediately, but a few minutes of assessment now saves hours of misdirected effort:
- Is the flooding ongoing (active inflow) or static (water has already entered and inflow has stopped)?
- What is the approximate volume of water and the area affected?
- What is the source — groundwater seepage, a surface water event, or a utility leak?
- Are there any safety hazards — unstable slopes, submerged electrical equipment, or confined space risks?
- Is any completed work at risk of damage if pumping doesn't begin immediately — fresh concrete, formwork, reinforcement?
Do not enter flooded excavations until stability has been confirmed and any electrical hazards have been isolated.
Step 2: Identify and Stop the Source Where Possible
If flooding is the result of a burst pipe or a surface water management failure, address the source before or alongside pumping. Continuing to pump against an uncontrolled inflow is an expensive treadmill. If the source is uncontrollable groundwater, accept this and focus on matching pump capacity to the inflow rate.
Step 3: Establish Your Pump Capacity Requirement
Estimate the volume of water to be removed and the ongoing inflow rate. A rough guide:
- For a flooded excavation, estimate volume in cubic metres (length × width × depth of water) and plan to remove it within 2–4 hours using appropriately sized pumps
- For ongoing groundwater inflow, estimate the rate by timing how fast the water level rises in a known area
- Add 30–50% margin to your pump capacity to account for water carrying sediment and to provide a buffer against underestimation
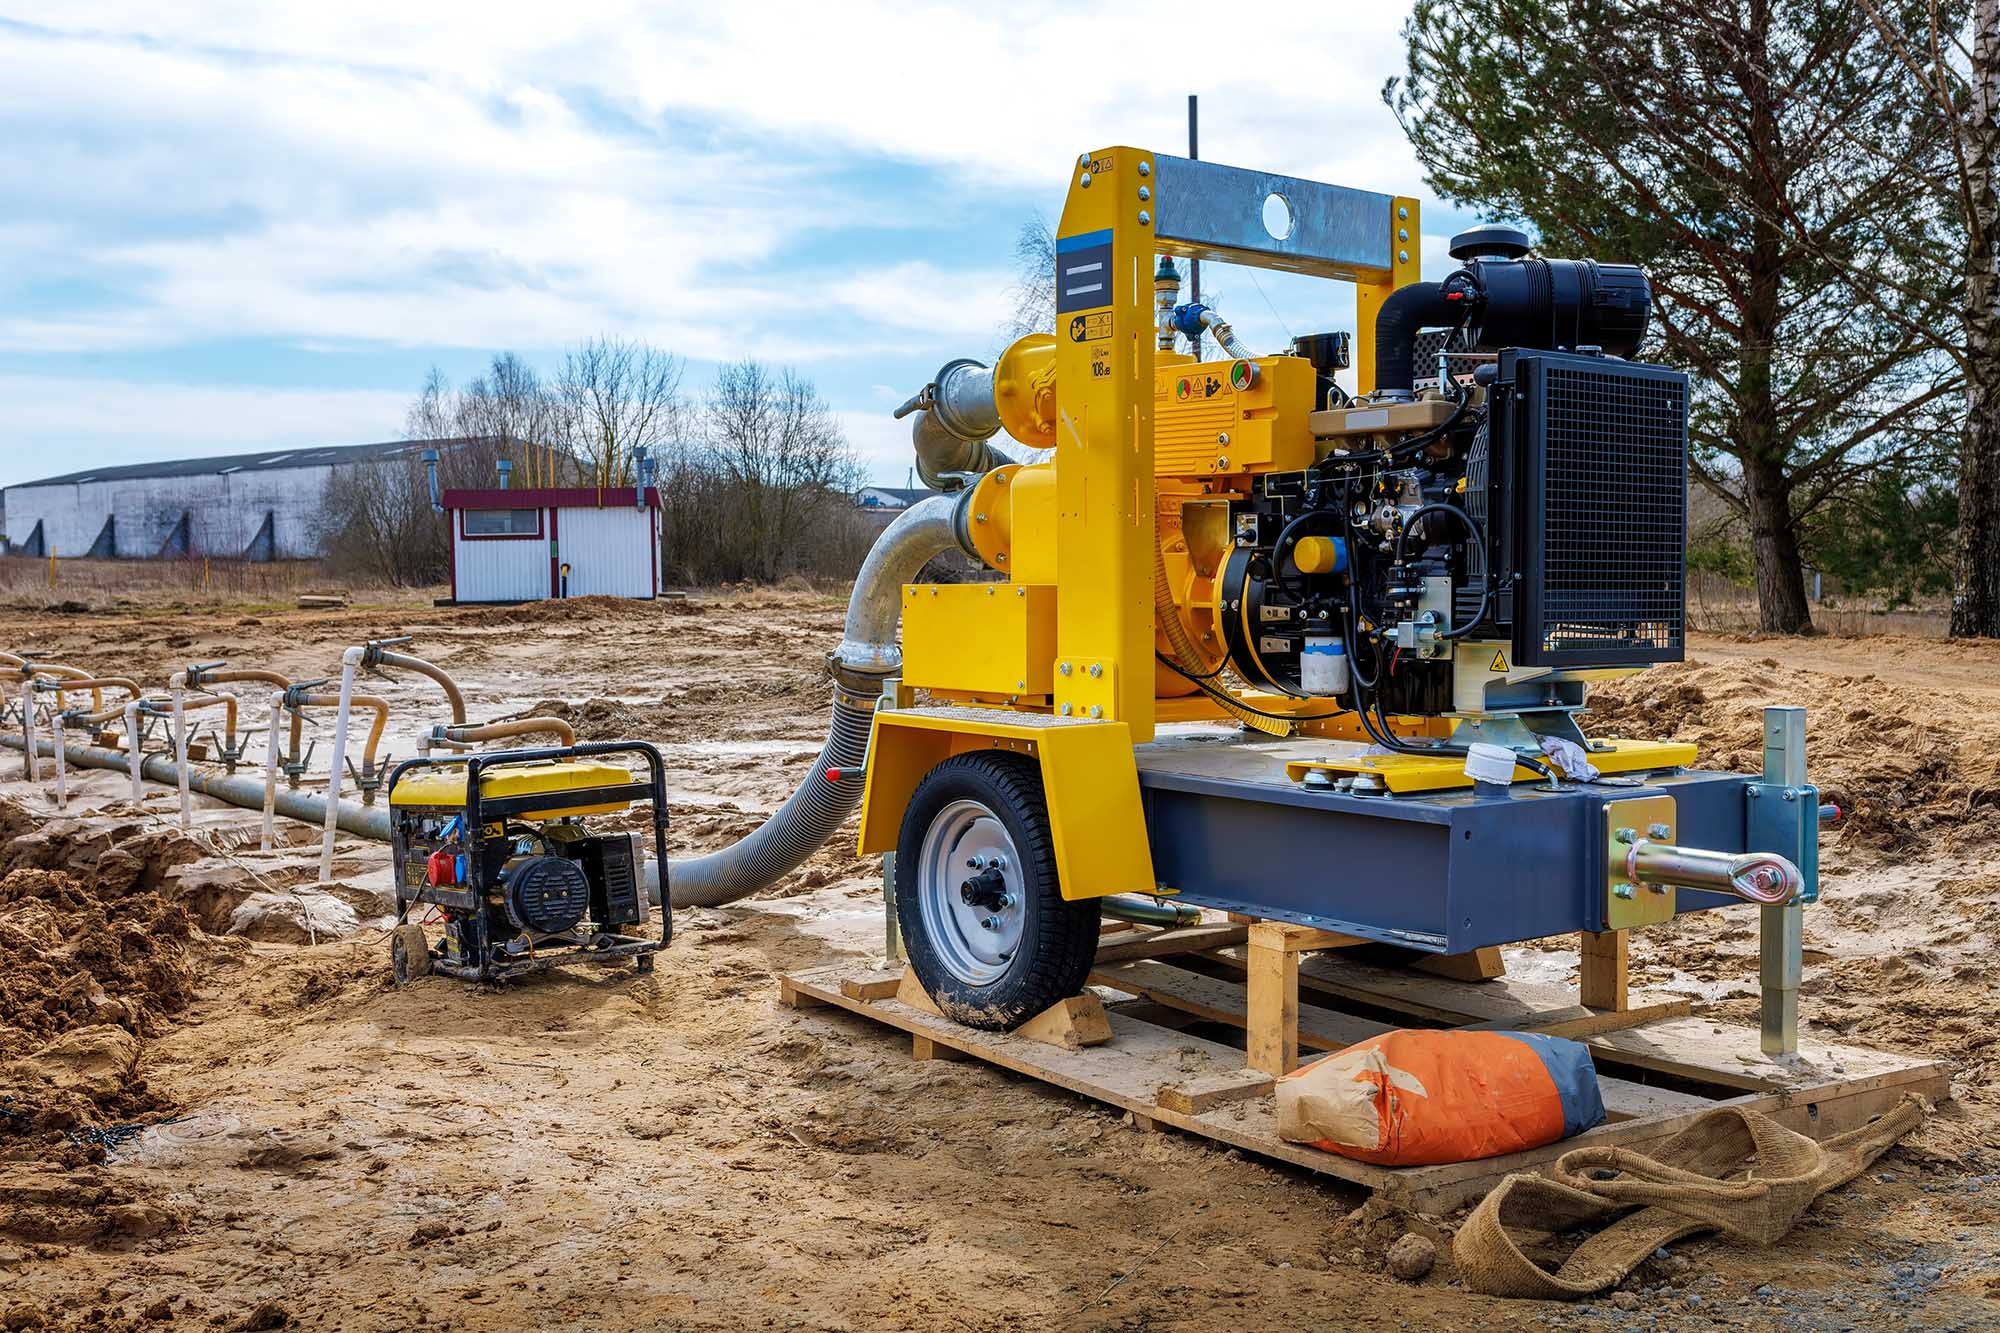
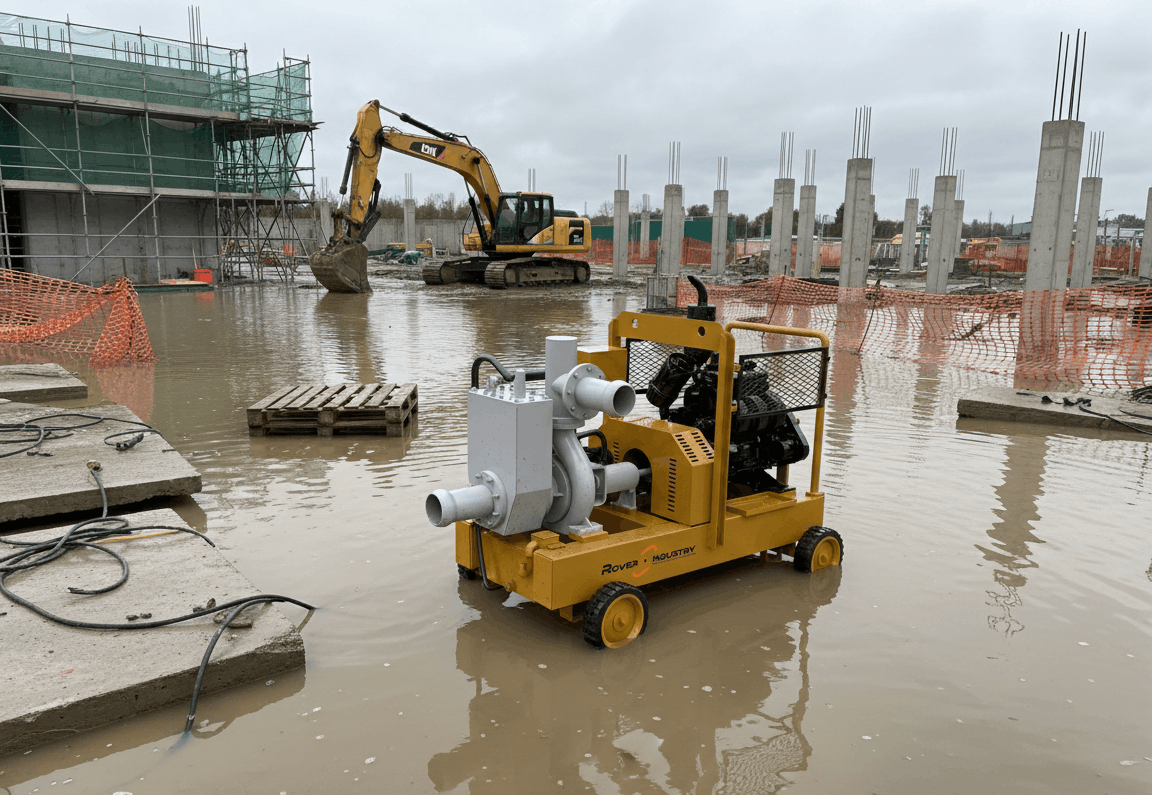
Step 4: Deploy the Right Pump
Self-priming centrifugal pumps are the workhorses of emergency construction dewatering in the UAE. Key considerations for emergency deployment:
- Ensure the pump can handle the solids content of the water — excavation flooding typically carries sand and silt that will damage a pump not designed for it
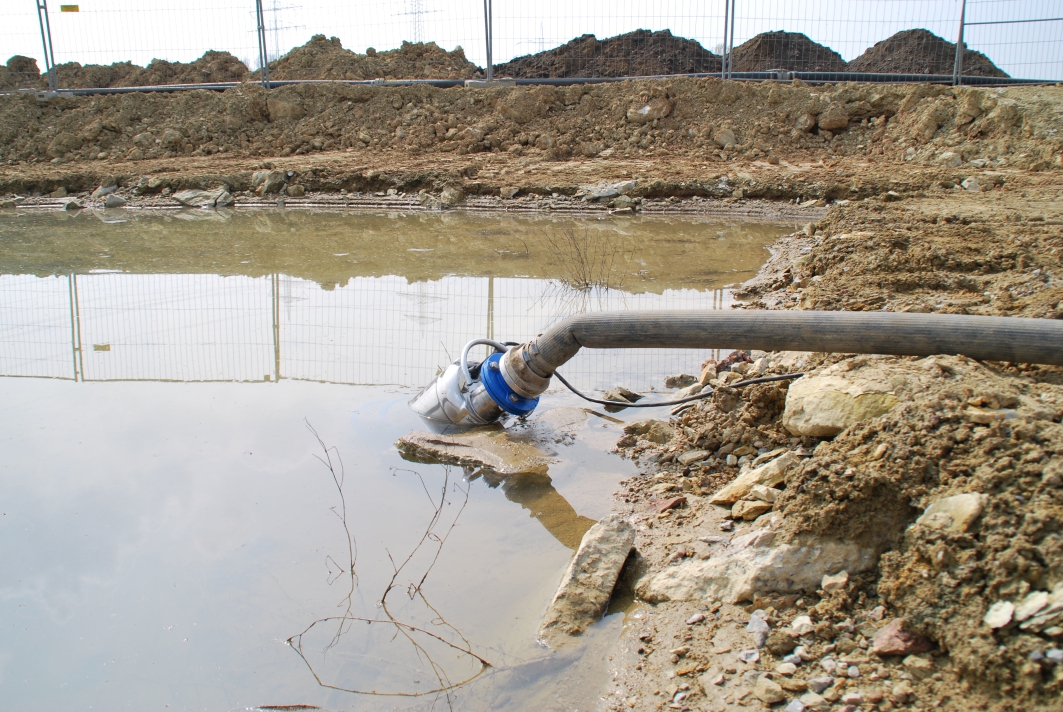
- Position the pump at the lowest accessible point outside the excavation
- Keep the suction hose as short and straight as possible — long or kinked suction lines dramatically reduce pump performance
- Confirm the discharge route is clear, and the discharge point is approved — UAE authorities take illegal discharge seriously
Step 5: Monitor and Adjust
Once pumping starts, monitor the water level regularly. If it isn't dropping, you either have a higher inflow than estimated or a pump performance issue. Common causes of inadequate pump performance during emergency response:
- Air leaks in the suction hose or connections — causing loss of prime
- Blocked suction strainer — remove and clean immediately
- Cavitation from excessive suction lift — lower the pump or add a drop pipe
- Wrong pump size for the application — call your supplier for a larger or additional unit
Step 6: Protect Completed Work
While pumping is underway, protect any completed work that is at risk:
- Fresh concrete — cover with plastic sheeting to prevent washout and water ingress
- Reinforcement — rising water carrying chlorides accelerates corrosion; inspect and treat if exposed
- Formwork — check for flotation risk and brace or tie down if necessary
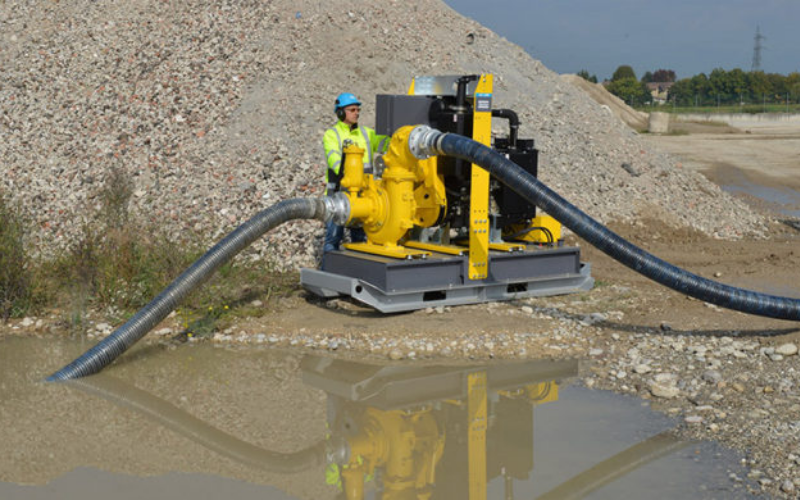
Step 7: Call Your Dewatering Supplier
A good dewatering supplier can dispatch additional equipment, replacement pumps, and technical support to the site quickly. The time to establish that relationship is before an emergency, not during it. Rover Industry maintains a ready stock of ROVER series pump sets in Sharjah for exactly these situations.
Step 8: Document Everything
For contractual and insurance purposes, document the flooding event thoroughly — photographs, water level measurements, timing, plant deployed, and actions taken. If third-party negligence caused the flooding (e.g., a main contractor's poor surface water management), this documentation supports your claim.

.png)
.png)

 (1).png)


.png)